Monday, July 11, 2011

 Polyjuice Potion

I've mentioned before I'm kind of a nerd.
I think this post may provide proof of my nerdiness. 
I love the Harry Potter books.   
No seriously… LOVE them.  
Don't you worry, I've got my tickets for this weekend!  I can't wait. 

So it turns out it's also genetic, because my siblings are huge fans themselves.  
I'm sure we could argue for days about who is the bigger fan, who actually loves the books more and ultimately no one would be crowned king or queen of Harry Potter nerdiness because we are all extremely stubborn so no one would surrender the glory of that title.  
And that was a huge run on sentence.  
Anyway…
So back in November we got together for a party.  It was in celebration of the upcoming Harry Potter And The Deathly Hallows part 1.  (Although the movies in no way replace the book, how could they?  We do enjoy the movies).  Naturally I saw it as another chance to decorate something, and I set up a potions table. 
Complete with a potions book!
These photo's don't include the food.  Everyone brought potluck Harry Potter style (treacle tarts, pumpkin pasties etc…)  And we set it up around the decor.  I was busy stuffing my face and attempting to destroy my siblings in a game of "Harry Potter Scene It."  I couldn't be bothered with photos;).

Now I hope you are all forgiving.   Sometimes I spend so much time making sure something visually looks right that I totally mess up.  For example… I SPELLED INGREDIENTS WRONG.  Honestly!    Even better... it's large text and very noticeable.  Unfortunately I'm not a witch, so I can't just wave my wand and say Reparo.  So "ingredents" will stay.  Oh well.
(Shhhh... don't tell, but I goofed somewhere else too. I don't know where my brain was at when I was making it). 

I did some research for this one.  Piecing together what I could from both the book and the movie to get the polyjuice potion as correct as possible.  With the exception of the word ingredients… gggrrrrrrrr… I think I'm pretty spot on.  I purchased a medical book from the thrift store.  After roughing it up (getting it wet, taking sand paper to the edges and just beating the snot out of it), I ran black and brown ink pads over the edges.  Then I added a little yellow and brown paint to a cup of water and painted with it all over the edges.  I created and printed out the polyjuice potion recipe and glued it into the book.  For the final touch I splashed a bit of that yellow/brown water onto it as well.  I wanted it to look like a little of the potion from the caldron had splattered on it.   I didn't forget the outside either.  I painted it and titled it Most Potente Potions.  
It will make a fun addition to my halloween decor.


I labeled a bunch of thrift store find bottles with Harry Potter potions and ingredients.  I also grabbed a couple of extra old looking books at the thrift store and gave them titles of books from Harry Potter.  Then I added a bunch of my halloween stuff and there you have it!
I think the half blood prince would be proud! 
Just incase you're wanting to create your own... here are the fonts I used.


Thursday, July 7, 2011

 "That might sound boring, but I think the boring stuff is the stuff I remember the most." -Russell


Yesterday I was driving to the store and a house caught my eye.  It was quite far away from where I was but VERY noticeable.  
Bright COLOR everywhere… with awesome aqua trim.  
I thought… I need to check that out.  But continued on my way and forgot about it.  Then later that night we were sitting around doing nothing important (so naturally I was perusing Facebook) and a post from the Herriman city page seemed to explain what the mystery aqua trim house was.  My thought was... 
"No way!"  
So I grabbed the keys and forced my family in the car.  They knew nothing… only we were going to go see something cool.  And I was mentally crossing my fingers that it would be cool, because I hadn't actually seen it.  

As we drove down the street towards the mystery house my husband stated…. "Wow, that's a colorful house."  I replied "Now imagine thousands of balloons floating above it." He then exclaimed what I had earlier thought  "No way!"  
and we pulled up to see this….
Yep, its a full functioning exact replica of the house from UP.  And it's about the cutest thing ever!  A few other cars loaded with kids were also stopping in front of it.  Everyones mouth agape.  We got out of the car and peeked in the windows.  It even has the hose in front and the fireplace mantle with the painting from the movie above it.  So darling!

There was a nice lady out with her camera getting ready to take some photo's.  We apologized for being in the way and she said she'd be happy to snap our photo.  I thought she'd just use our camera phone, but she was nice enough to use her fancy camera and emailed us the photo's.  So all credit of these photo's go to the sweet lady with the camera.  Her name is Jenetta Roberts and here is her webpage!  www.jeanettarobertsphotography.com
Thanks Jenetta!  It was lovely to meet you!
(I do apologize for the messiness of my family in the photo's… we were not camera ready.  In fact Momo has dinner on his face and sometimes I rebel against showering and make-up…and yesterday was one of those days.  I'm just amazed we had shoes on).

So would you buy this house???  I kinda think I would.  Especially if I was a grandma… how much fun for the grandkids,  every trip to Grandpa and Grandma's would be magic, snipe hunting would be a must and I'd totally get a cane for J and attach tennis balls to the feet!
And P.S. 
I just discovered who the builder of this home is.  They have a blog with more pics!   Check them out here….

Monday, July 4, 2011

 June Bugs

I over did it… as usual just because I can do something… doesn't mean I have time to!  This is a tough concept for me, because really who wouldn't want to do everything?!  But the last few months of spring kicked my trash.  So I took care of the things I promised I'd do, and then once school was out I've spent my time playing with my kids.
Pure silly bliss!!!   
I've also be slaving away in the yard.   Last summer I completely neglected it.  So this summer I've been paying for my lack of weeding.  However it has been fabulous!  
There is something magical about blossoms, earth and fresh air!   
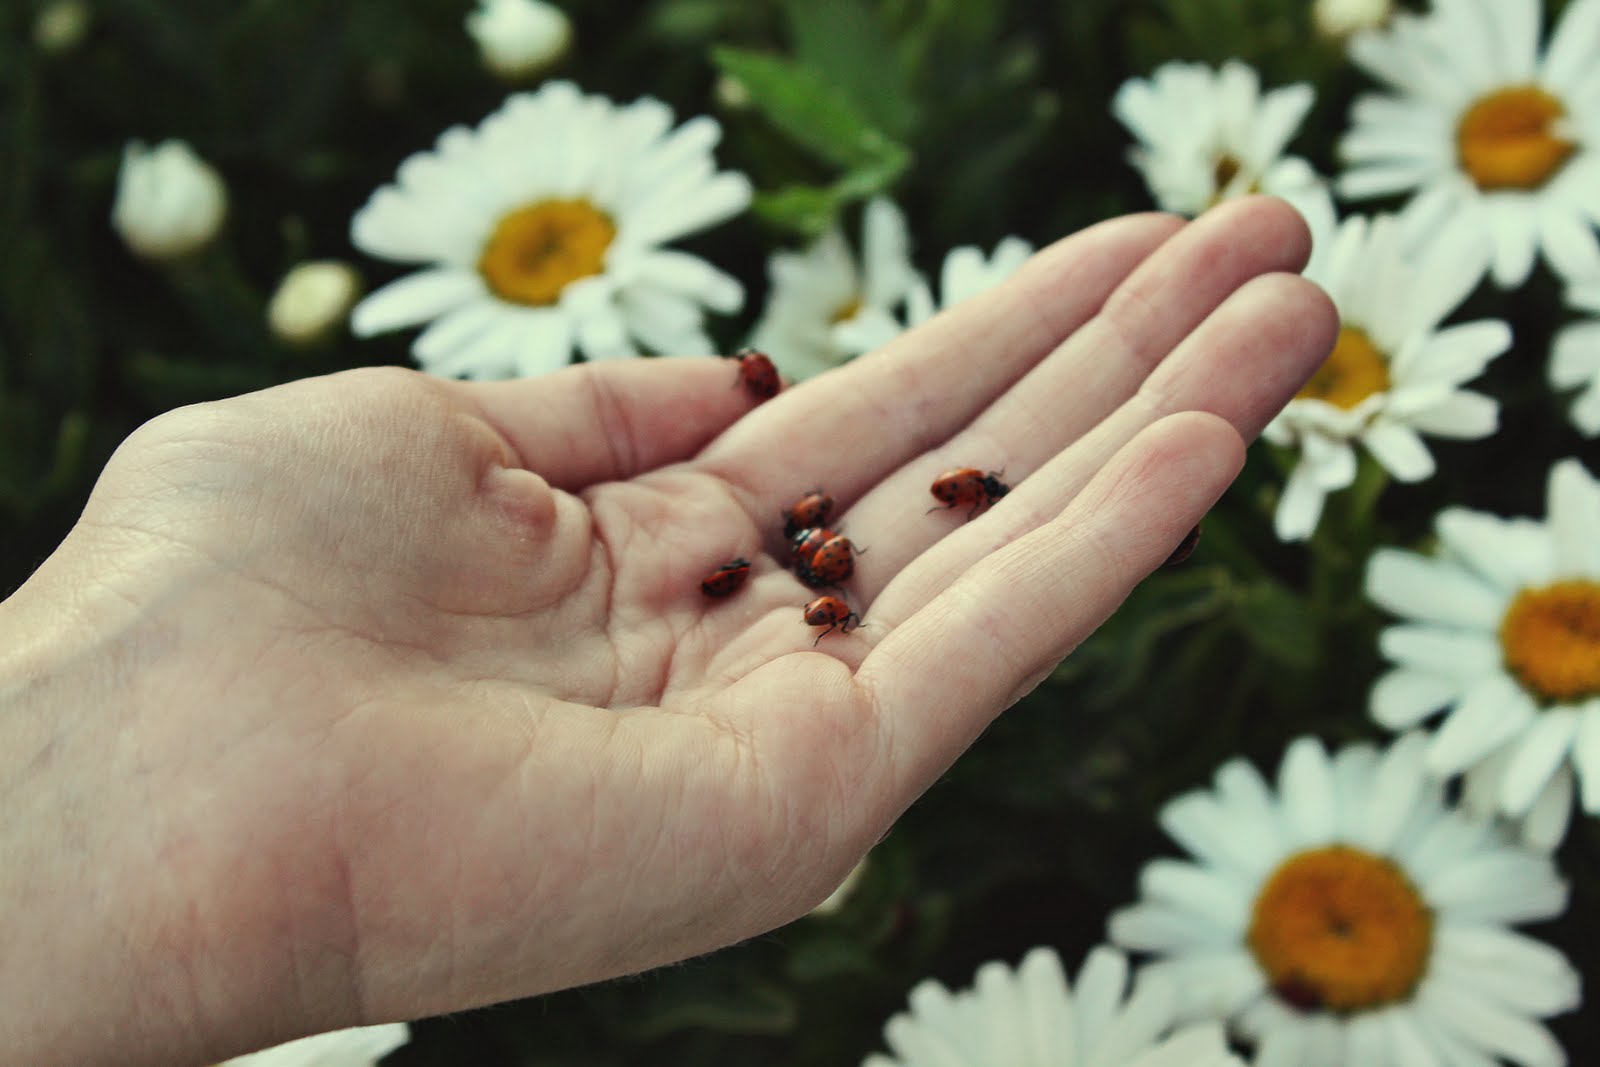
We released a bag of 2000 lady bugs into the garden a couple nights ago.  To be honest I gave into my kids relentless "please…please….PLEASE" as they goggled at the bag of bugs on the counter at the nursery.  I'm so glad I submitted to their begging, in fact I'm thinking it may be a nice independence weekend tradition.  Ride liked the idea of it but once one of those red polka dotted beauties crawled onto her little hand she flipped!  But Momo and Scooter were in crawling critter heaven.
  Little blushing lady bugs…. EVERYWHERE!  
After we had a dessert of frosted patriotic sugar cookies on the porch and then went through a bag of those charcoal growing and glowing snake fireworks, my kids love those messy things.
...to all of you fabulous followers, and also to all the lady bugs in my garden!

P.S.  Stay tuned, I'm back playing in my studio too!!!

Wednesday, April 6, 2011

 Picnic Easter Baskets

I was at Target the other day… childless!  It was awesome!  I actually had a minute to browse without yelling various threats at my son.  I think I even caught myself skipping now and again. 
So this is what I came home with…
Kitchen towels, melamine salad plates, a pack of 4 cloth napkins and placemats… that all match!
And this is what I made with all of it…
Last year for Easter instead of getting regular baskets for easter I bought my girls baskets to go on their bikes.  
At the time I had high hopes of making cute basket liners but ran out of time.  
So this year, after my Target treasure hunt, they became not only fabulous bike baskets, but picnic baskets as well!  They will be so thrilled to pack up a little picnic in their basket and ride down to the park.
    I can't wait until easter! 
I'm so excited to strap these onto their bikes!  
I turned the placemats I found into picnic caddy's.
They are a piece of cake to make!  Here's how…
Press your placemat,  then fold one end up… you can pick how high you'd like to go.  Press again.

Now I can't leave it as is… I had to add a little eyelet trim (I adore eyelet).  Simply cut a piece a bit longer than the width of your placemat.  You want to attach it along the top of your folded edge.  Wrap the trim around the corner, tuck it in a bit to keep the raw edge from showing.  Pin… and then pin it all along the top of the fold.  Then wrap it around the next corner the same way and pin again.  Sew it on.
Now to add a ribbon, this will tie your caddy together.  Cut a long piece of ribbon.  Fold it in half.  Decide where you'd like it to go (I recommend middleish) and pin.  
Now you'll sew around the entire lower fold of your placemat.  Start by lifting the trim up, so you start sewing underneath it.  But also make sure where it wraps around stays tucked under your fold, sandwiched between the top and bottom folds of your placemat.  
Sew all along the bottom fold.  Finished it will look like this…
Right now it's just one big pocket.  Now to make little compartments for each of your picnic necessities. 
Lay them out on your placemat in the order you'd like them in.  
I'm using a... 
*Napkin
*Straw
*Small Garbage Bag 
(I know, it sounds random, but I just had these visions of my girls coming home from a picnic and leaving a half eaten sandwich, orange peels, chocolate bars etc... in the bottom of their bike basket to mold and rot in the hot garage.  I'd at least like to have it in a garbage or plastic baggie). 
*Flatware
(I got these darling disposable forks and spoons from Amazon.  I didn't get the knives, but now I think I'm going to snag some).
After laying them out you'll want to make marks on our placemat to determine how big each compartment will be.  Using a tape measure, determine how big of a space you need for the napkin.  For me it was 5.5 inches.  (Then I placed a pin… don't do this.  I realized after doing this it was silly… because I'd have a tough time sewing through pins going lengthwise).  Instead make a mark.  I just used a pencil.  Make a few marks of your desired length (again 5.5 for me) over from the edge down the front.  Then I repeated the process with the straw and the trash bag.  
Then with the remaining space make three compartments for the flatware.  Measure what space is left, divided it by three to make these compartments even steven.  Then make marks accordingly.  So at the end it should look like this…
(The marks are light… but they are there). 
Then pin your trim up and out of the way.
Then simply sew along each line of marks.
Your end product will look like this.  
Then fill your caddy with your picnic essentials.
Roll it up, tie the ribbon around, make a bow.  Trim the ribbon down to the length you are happy with and add fray check to the edges.
And you are done!
You could add some cute picnic stuff to the basket for easter.  Sunglasses, sunhat, sandwich holder, fabric lunch bag, water bottle, sunscreen.  For younger kids felt food would be darling for pretend picnics!  If you go to etsy and search for felt food, you will find a bunch of yummy collections.  If you are feeling super ambitious and want to make your own, do your search for felt food patterns.  There are some seriously out of control oh-so-cute options!  Another ambitious project would be a picnic blanket.  
Simply Adorbs!


The fabulous Lindi from Love The Day has designed absolutely gorgeous easter printables.  And they would sooooo match these baskets.  Check her blog out here


LOVE THE DAY and find her printable here…  Easter Party Printables. 

Monday, March 21, 2011

 Where Women Create

I'm crazy THRILLED about something.  I don't know how to describe my delight about it, because when I think about being featured on Where Women Create my brain starts spinning.  I feel so honored.

If you'd like to check out my post here is the link…
There is a give-away too!  You can enter to win all the owl party downloads and a dozen of my fabric roses!  

Happy Happy Happy Monday All!!!

Monday, March 14, 2011

It's coming… 
I can feel it…tulip shoots are peeking up through the ground… 
it's warming up….birds are chirping…. and I'm ready! 
I'm ready for...
 picnics,
and gardening,
and sunshine,
and lawn mowers,
and freckles,
and open windows,
and my grill,
and longer days,
and snow cones,
and the lemonade stand…
Here's my littles selling lemonade and snow cones last summer.  (With the help of my handy neighbor we made this lemonade stand as their christmas present in 2009).  They wanted to help pay for their dance classes, so every penny they earned went towards their dance stuff (sweats, shoes, bags, and bobby pins… we go through so many bobby pins).  

  And now after looking at these photo's not only am I craving summer, but I could go for a snow cone right now! 
Mmmm....tigers blood.
(I started salivating as I wrote that).

Thursday, March 10, 2011

 Picking Your Parchment

So I finally finished the owl adoption cards, but before I jabber on about that I wanted to share a little something with you…
My thoughts about printing paper, (I know you are on pins and needles to hear what I have to say).  
Such an exceptionally exciting topic.  
If you're like me you do all of your printing at home.  I only head to a print shop when something is too large for my printer.  It keeps me from having to run another errand and let's be honest… sometimes when I'm "crafting" it's late at night, I'm in my creative mode and breaking it up with a trip somewhere is annoying, my son is napping, or I look super sexy in my crafting sweats.   So when I make lovely party printables, invitations etc… I'm picky about what paper I use.

Many of you may already be aware of this, but I thought I'd give my thoughts for anyone who might not.  And now that I actually have something worth printing nice in my etsy shop I feel better knowing I've spread the word.

When I'm printing out something I want to be particularly pretty or special I use
matte photo paper or matte brochure paper.  
I also make sure it is at least 45lb or 170 g/m.  (Be careful here… speaking from experience, I've bought the wrong weight before, and it's still great for printing, but it's weight is more like normal paper).  
It prints color bolder and richer, the details are finer and it looks awesomer in general.   
(Yes I know awesomer isn't a word).  
Here let me show you the difference.
I printed my adoption cards with the same printer, using both brochure and card stock paper.
On the left regular card stock, on the right I printed on brochure paper.
Ummm… there is a HUGE difference! 
Here is a link for the paper I used on the right. HP Brochure paper
Here is another link of the Cannon version. Canon Matte Photo Paper
Those are just a couple. 

So in a nutshell….
Con's
-It's more expensive.
-It isn't quite as thick as card stock.
-It bugs me if I run out;)

Pro's
-Looks far-eaking awesome.
-The colors are more accurate.
-The texture is smoother than card stock.
-Did I mention it looks amazing?

Alright so there is my opinion about printing paper. 
And if you're interested in taking a look here is the link for the